simufact.welding焊接软件操作
在Simufact.welding 中整个焊接过程仿真按下述步骤进行:
1)生成新的焊接仿真分析项目
2)导入模型
3)设置边界条件
4)设置焊接路径
5)定义焊接热源
6)设置焊接材料
7)求解器设置
8)提交计算
9)结果后处理
具体分析过程如下:
1)生成新的分析项目
a)点击桌面simufact.welding 2.5.1快捷方式启动simufact.welding软件,或者
Windows开始菜单中点击simufact.welding 2.5.1。
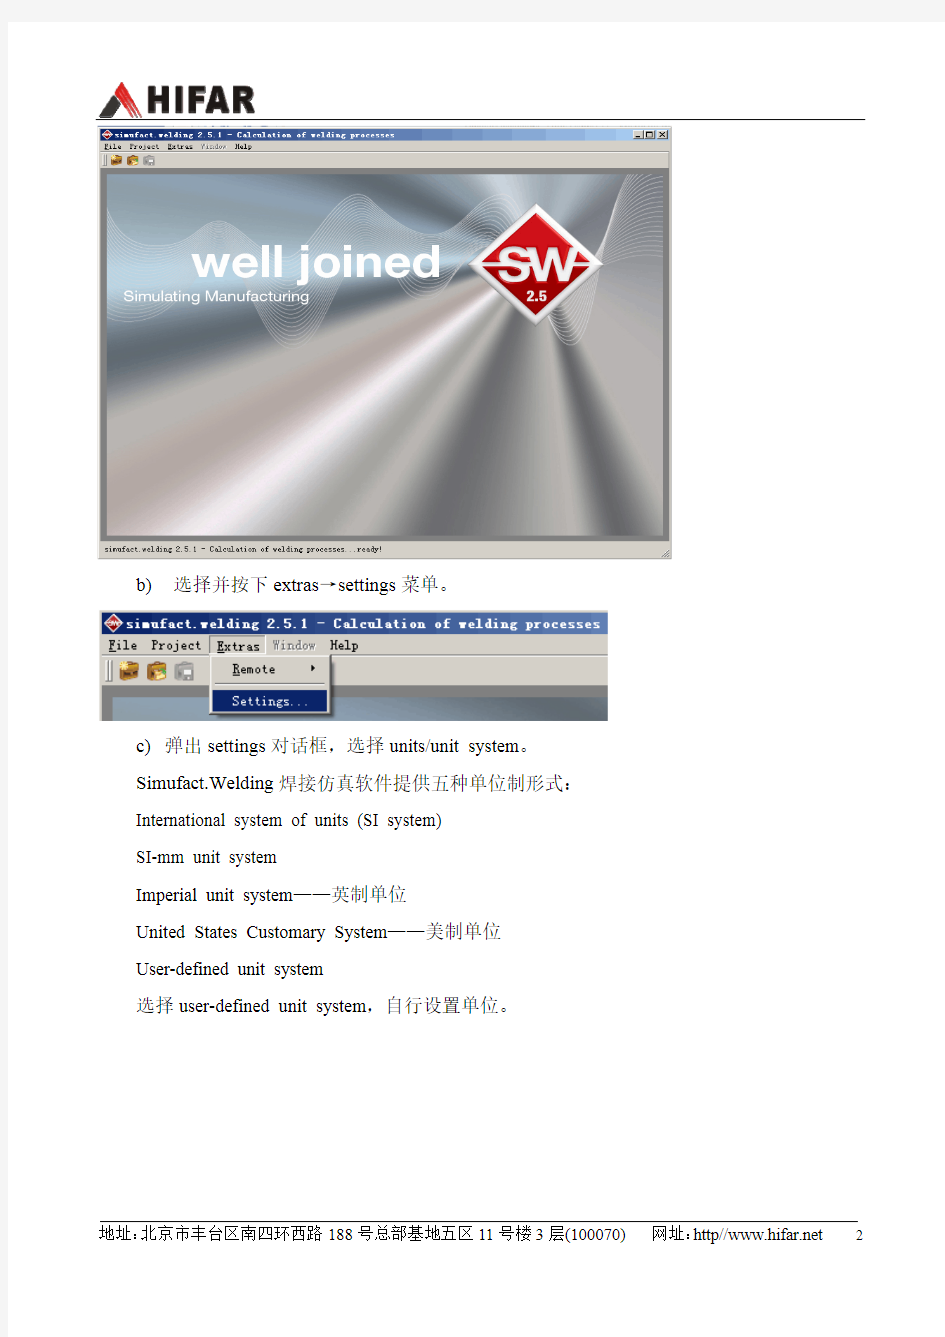
启动之后整个simufact.welding界面如下:
b)选择并按下extras→settings菜单。
c)弹出settings对话框,选择units/unit system。Simufact.Welding焊接仿真软件提供五种单位制形式:International system of units (SI system)
SI-mm unit system
Imperial unit system——英制单位
United States Customary System——美制单位
User-defined unit system
选择user-defined unit system,自行设置单位。
比较重要的单位:时间(s)、温度(℃)、长度(mm)和压强(MPa),设置好之后点击apply。
d)点击directories设置存储路径。
点击按钮弹出对话框,设置存储路径,也可进行其它路径的设置,点击apply,点击OK,关闭settings窗口。
e)点击菜单栏project→new新建分析项目。
输入项目名称。此名称不能超过20个字符,且字符范围为:“A-Z”,“a-z”、“0-9”和连字符。
点击OK。弹出分析项目设置对话框,可在窗口右端description中输入此分析项目的相关信息,其他设置如下:
设置周围环境温度ambient temperature、重力加速度gravity、求解器solver及仿真所需模型部
件components 数量的设置。 各项代表的含义: Components :——焊接板 ——是否使用对称面
ufact.welding 界面如下:
Bearings :——轴承 Fixings :——固定 Clampings :——夹紧Robots :——机器人
Use symmetry plane :f) 点击OK ,选择存储位置,整个
sim
2) 导入模型
栏中选中geometry 鼠标右键import
a) 在目录
弹出对话框,选择此分析项目所需要的模型文件,此模型文件为NASTRAN格式的文件。(NASTRAN格式的文件可以通过patran、hypermesh、marc、femap等前处理软件划分完网格之后生成)。网格的划分要在以上前处理软件中完成。
b)点击打开,弹出Geometry import对话框,设置长度单位,并选中“use for all
geometries”。
点击OK,目录栏中出现导入的模型文件,点击相应的模型,在下
面的属性窗口properties会有相关模型的信息,双击模型在右端的图形显示窗口会显示模型。在图形显示窗口,点击鼠标左键是对模型进行平移,鼠标中键对模型进行放缩,鼠标右键对模型进行旋转操作。点击按钮可以查看工件网格情况。
:此按钮的意思为:show model in current window。处于按下状态时,双击模型时,所有模型在一个窗口进行显示,如果不按下此按钮,将分别显示模型,每个模型打开一个
窗口。
:apply view to all open windows。所有打开的窗口采用同一视图进行查看。
c)采用拖拽的方式建模
将web拖拽之component-1模型树下,拖拽后component-1的名称相应改变为web。
同样方法将其他模型拖拽至模型树下
Plate→component 2
Clampfix1 and 2→bearings
Fixing1 and 2→fixings
Clamp1 and 2→clamps
Fillet→robot
整个simufact.welding窗口如图所示:在模型树中选中模型,在图形显示窗口被选中的模型呈现黄色高亮显示。
3)边界条件设置
a)在模型树下选中fixing1右键选择configure。
Bearings的项不用设置,其他两项fixings和clampings需要设置。而且fixings和clampings 两项设置界面不一样。
b)弹出fixing的settings对话框。设置如下:设置开始激活的时间和失效的时间。
Type of boundary condition - Fixing
The type of the boundary condition determines the usage and influence of the boundary condition within an welding analysis.
Activation time value
The activation time value defines the beginning of the activation of the boundary condition. Deactivation
By checking the deactivation check box it is possible to deactivate the boundary condition at a specific time value. Otherwise the boundary condition will be used until the end of the simulation.
Clamp的设置如下图所示:除了可以设置开始激活的时间和失效的时间外,还可以设置弹簧。
Spring stiffness table
When this option is selected a spring stiffness table will be used instead of a single value for the spring stiffness.
Spring stiffness value
When this option is selected a spring stiffness value will be used instead of the spring stiffness table.
Spring stiffness holding force
By checking the holding force check box it is possible to activate the holding force for the boundary condition and to enter a specific value. Otherwise no holding force will be used for this boundary condition.
4)定义焊接路径
a)右键点击目录栏中的sets→new node set
右键重命名为weldpath
在界面右端出现节点定义对话框
点击按钮显示图形节点形式,点击按钮进行图形局部放大,按住CTRL键,鼠标左键选择fillet模型上左节点。如下图所示:
同理,选择fillet模型上的右节点。点击apply。
b)在目录栏中右键点击trajectories→from node set
弹出对话框
点击OK,弹出Trajectory settings对话框。
c)定义焊接路径的另外一种方法:直接导入路径文件。
右键点击Trajectories→new,弹出Trajectory settings对话框。或者直接点击import导入焊接路径。
点击
,弹出import data points对话框,选中Trajectory_mm.csv文件
弹出对话框,选择长度单位:mm。如果导入多个文件就选中use for all files。
点击OK,弹出导入成功的对话框显示。
d)将焊接路径拖拽至模型树robot下
5)定义焊接热源
a)鼠标右键点击Trajectories→configure
弹出对话框,设置焊接热源的移动速度、电流、电压和热源效率。如下图所示:
b)设置热源类型
选择双椭球热源类型。同时会弹出其图片显示:
设置热源的相关参数:length、rear length、width、depth。
Goldak's double ellipsoid source model
The goldak's double ellipsoid source model is mainly used for GMA welding. It is a 3d heat source with an adjustable focusing, front and rear part.
Length a f
This value defines the front length of a double ellipsoid heat source. The total width of the heat source is calculated by (a f + a r).
Rear length a r
This value defines the rear length of a double ellipsoid heat source. The total width of the heat source is calculated by (a f + a r)
Width b
This value defines the width of a double ellipsoid heat source. The total width of the Depth d
defines the depth of a double ellipsoid heat source. fraction of the front heat input of a heat source (f f ). The fraction is automatically calculated as: f r = 2
smaller than the calculated value will lead to a greater fraction at the rear part of the source.
布热源(平面分布热heat source will be 2 times b. This value Scaling factor heat front
This value defines the scaling factor for the double ellipsoid Front: f f =2/(1+(a r / a f ) Rear: f r =2/(1+(a f / a r ) with: f f + Values greater than the calculated value will lead to a greater heat input fraction at the front part of the source . Values heat input 第二大热源:V olume and area-distribution laser source 高斯分源)