H3C系统及配置文件备份操作
系统及配置文件备份操作实验任务一:使用系统操作及文件操作的基本命令步骤一:进入系统视图
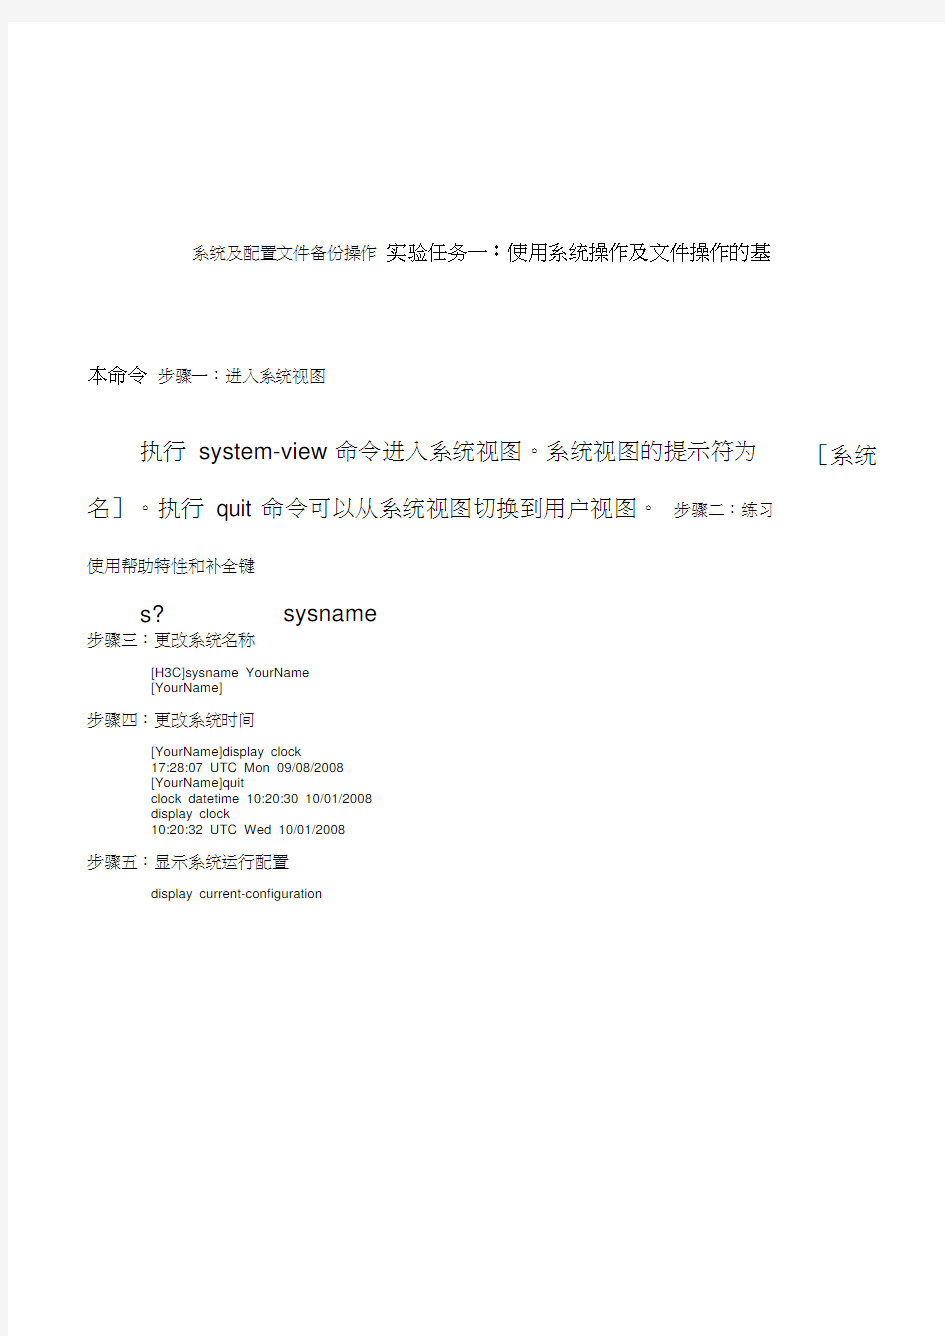
执行system-view 命令进入系统视图。系统视图的提示符为名]。执行quit 命令可以从系统视图切换到用户视图。步骤二:练习使用帮助特性和补全键
步骤三:更改系统名称
[H3C]sysname YourName
[YourName]
步骤四:更改系统时间
[YourName]display clock
17:28:07 UTC Mon 09/08/2008
[YourName]quit
10:20:32 UTC Wed 10/01/2008
步骤五:显示系统运行配置
s? sysname
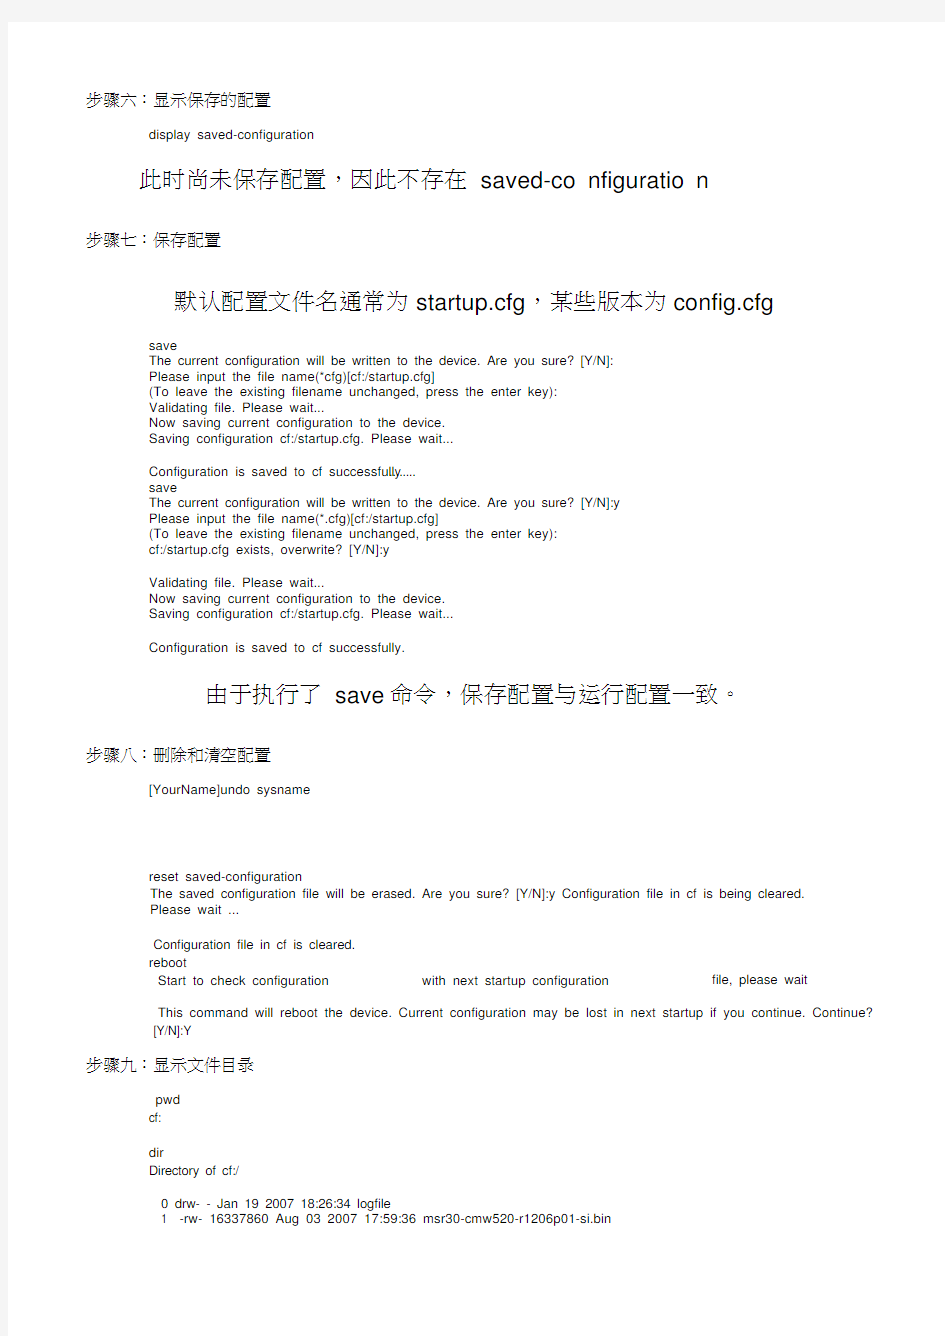
步骤六:显示保存的配置
此时尚未保存配置,因此不存在saved-co nfiguratio n
步骤七:保存配置
默认配置文件名通常为startup.cfg,某些版本为config.cfg
The current configuration will be written to the device. Are you sure? [Y/N]:
Please input the file name(*cfg)[cf:/startup.cfg]
(To leave the existing filename unchanged, press the enter key):
Validating file. Please wait...
Now saving current configuration to the device.
Saving configuration cf:/startup.cfg. Please wait...
Configuration is saved to cf successfully ........
The current configuration will be written to the device. Are you sure? [Y/N]:y
Please input the file name(*.cfg)[cf:/startup.cfg]
(To leave the existing filename unchanged, press the enter key):
cf:/startup.cfg exists, overwrite? [Y/N]:y
Validating file. Please wait...
Now saving current configuration to the device.
Saving configuration cf:/startup.cfg. Please wait...
Configuration is saved to cf successfully.
由于执行了save命令,保存配置与运行配置一致。
步骤八:删除和清空配置
[YourName]undo sysname
The saved configuration file will be erased. Are you sure? [Y/N]:y Configuration file in cf is being cleared.
Please wait ...
Configuration file in cf is cleared.
file, please wait Start to check configuration with next startup configuration
This command will reboot the device. Current configuration may be lost in next startup if you continue. Continue?
[Y/N]:Y
步骤九:显示文件目录
cf:
Directory of cf:/
0 drw- - Jan 19 2007 18:26:34 logfile
1 -rw- 16337860 Aug 03 2007 17:59:36 msr30-cmw520-r1206p01-si.bin
2 -rw- 739 Oct 01 2008 10:15:54 startup.cfg
249852 KB total (221648 KB free)
File system type of cf: FAT32
步骤十:显示文本文件内容
用more命令
步骤十一:改变当前工作路径
使cd命令
步骤十二:文件删除
用save、dir、delete、dir 命令
虽然删除了该文件,但是在删除该文件前后,为什么CF卡的可用内存空间却没有变化呢。那是因为使用delete命令删除文件时,被删除的文件被保存在回收站中,仍会占用存储空间。如果用户经常使用该命令删除文件,则可能导致设备的存储空间不足。如果要彻底删除回收站中的某个废弃文件,必须在文件的原归属目录下执行reset
recycle-b in命令,才可以将回收站中的废弃文件彻底删除,以回收存储空间。
dir /all命令显示内容包括隐藏文件、隐藏子文件夹以及回收站中的原属于该目录下的文件的信息,回收站里的文件会以方括号“[]”标出。文件myconfig.cfg 应该仍然存在于CF卡的回收站中。
用reset recycle-bin 命令清空回收站后,可发现文件列表中已经
找不到myconfig.cfg 文件,并且可用内存空间已经增加。
使用delete /unreserved 命令删除一个文件,则该文件将被彻底删除,不能再恢复。其效果等同于执行delete命令之后,再在同一个目录下执行了reset recycle-bin 命令。
实验任务二:通过Telnet登录
步骤一:通过Console 口配置Telnet用户
[YourName-luser-test] password simple test
[YourName-luser-test] service-type telnet
[YourName-luser-test] level 0
[YourName-luser-test] quit
在某些CMW 版本中需用命令authorization-attribute level 0 替代命令level 0。
步骤二:配置super 口令
[YourName] super password level 3 simple H3C
步骤三:配置登录欢迎信息
[YourName]header login
Please input banner content, and quit with the character '%'.
Welcome to H3C world!%
[YourName]
步骤四:配置对Tel net用户使用缺省的本地认证
[YourName]user-interface vty 0 4
[YourName-ui-vty0-4]authentication-mode scheme
步骤五:进入接口视图,配置以太口和PC网卡地址
[YourName]interface GigabitEthernet 0/1
[YourName-GigabitEthernet0/1]ip add 192.168.0.1 255.255.255.0
[YourName-GigabitEthernet0/1]
步骤六:打开Tel net服务
[YourName]telnet server enable
% Telnet server has been started
步骤七:使用Tel net登录
telnet 192.168.0.10
由于此时登录用户处于访问级别,所以只能看到并使用有限的几个
命令。同时,超级终端上会有如下信息显示,表明源IP为192.168.0.10 的设备远程登入到路由器上。
%Oct 2 10:27:13:325 2008 YourName SHELL/4/L0GIN: test login from 192.168.0.10
步骤八:更改登录用户级别
super 3
能使用的命令明显多于level。
步骤九:保存配置,重新启动
使用save 和reboot 命令
实验任务三:使用FTP上传下载系统文件
步骤一:通过Con sole 口配置FTP用户
[Y ourName]local-user test_ftp
[Y ourName-luser-test_ftp] password simple test_ftp
[Y ourName-luser-test_ftp] service-type ftp
[Y ourName-luser-test_ftp] level 3
步骤二:打开FTP服务
[You rName]ftp server en able
Info: Start FTP server.
步骤三:使用FTP登录
步骤四:使用FTP上传文件
如果用户以Administrator 登录PC,则默认的本地目录是
C:\Docume nts and Setti ngs\Admi nistrator 。
步骤五:使用FTP下载文件
实验任务四:使用TFTP上传下载系统文件
本实验以3CDaemon程序作为TFTP的服务器端。实际上任何支持
TFTP服务的程序均可以使用。
步骤一:启动TFTP服务器端程序
步骤二:使用TFTP下载文件
The file mysystem.sys exists. Overwrite it? [Y /N]:y Verify ing server file...
Deleting the old file, please wait...
File will be tran sferred in bi nary mode
Downl oadi ng file from remote tftp server, please wait...
TFTP: 913 bytes received in 0 seco nd(s)
File dow nl oaded successfully.
步骤三:使用TFTP上传文件
File will be tran sferred in bi nary mode
Sending file to remote tftp server. Please wait...
\
TFTP: 940 bytes sent in 0 seco nd(s).
File uploaded successfully.