实验4JUnit 3.x和JUnit 4.x的测试框架
河北科技大学
实验报告
级专业班学号年月日
姓名同组人指导教师
实验名称成绩
实验类型验证型批阅教师
一、实验目的
熟悉JUnit 3.x和JUnit 4.x的测试框架。
二、实验内容和步骤
这里的计算器程序是在NetBeans中实现的,在NetBeans中的JUnit测试方法如下。
第一步:首先在NetBeans中新建一个项目,并新建包calculator,在该包中建立若干类,实现一个类似于windows计算器的简单程序,主要用于测试加,减,乘,除运算的功能。其中实现四则运算的类为MyMath.java,
第二步:检查项目下的“测试库”中是否有JUnit3,JUnit4的单元测试包,如果没有,通过在“测试库”上单击右键,选择“添加库”添加单元测试包。
第三步:生成JUnit测试框架。在要测试MyMath.java类上,单击右键,在弹出的快捷菜单中依次选择【工具】→【创建JUnit测试】,或按下Ctrl+Shift+U键。
第四步:在弹出的“选择JUnit版本”窗口中选择创建测试框架的JUnit版本,有JUnit 3.x和JUnit 4.x两个版本,选择其中一个并单击【选择】按钮。
第五步:在弹出的“创建测试”窗口中,选择测试类的位置,默认是在项目中的“测试包”中,并选择“代码生成”的相关选项,单击【确定】按钮,在项目的“测试包”中新增calculator 项目,并在项目下新增MyMath.java类的测试类MyMathTest.java类,同时在编辑窗口显示自动生成的MyMathTest.java测试类的源代码。
第六步:执行测试。依次选择菜单【运行】→【测试项目】,在窗口下方的控制台中出现测试结果。进度条为绿色表示通过的测试,红色表示未通过的测试。该测试中有3个测试通过,一个测试出现错误,主要是因为测试中进行了“除0”的操作。
三、记录并分析测试脚本的内容
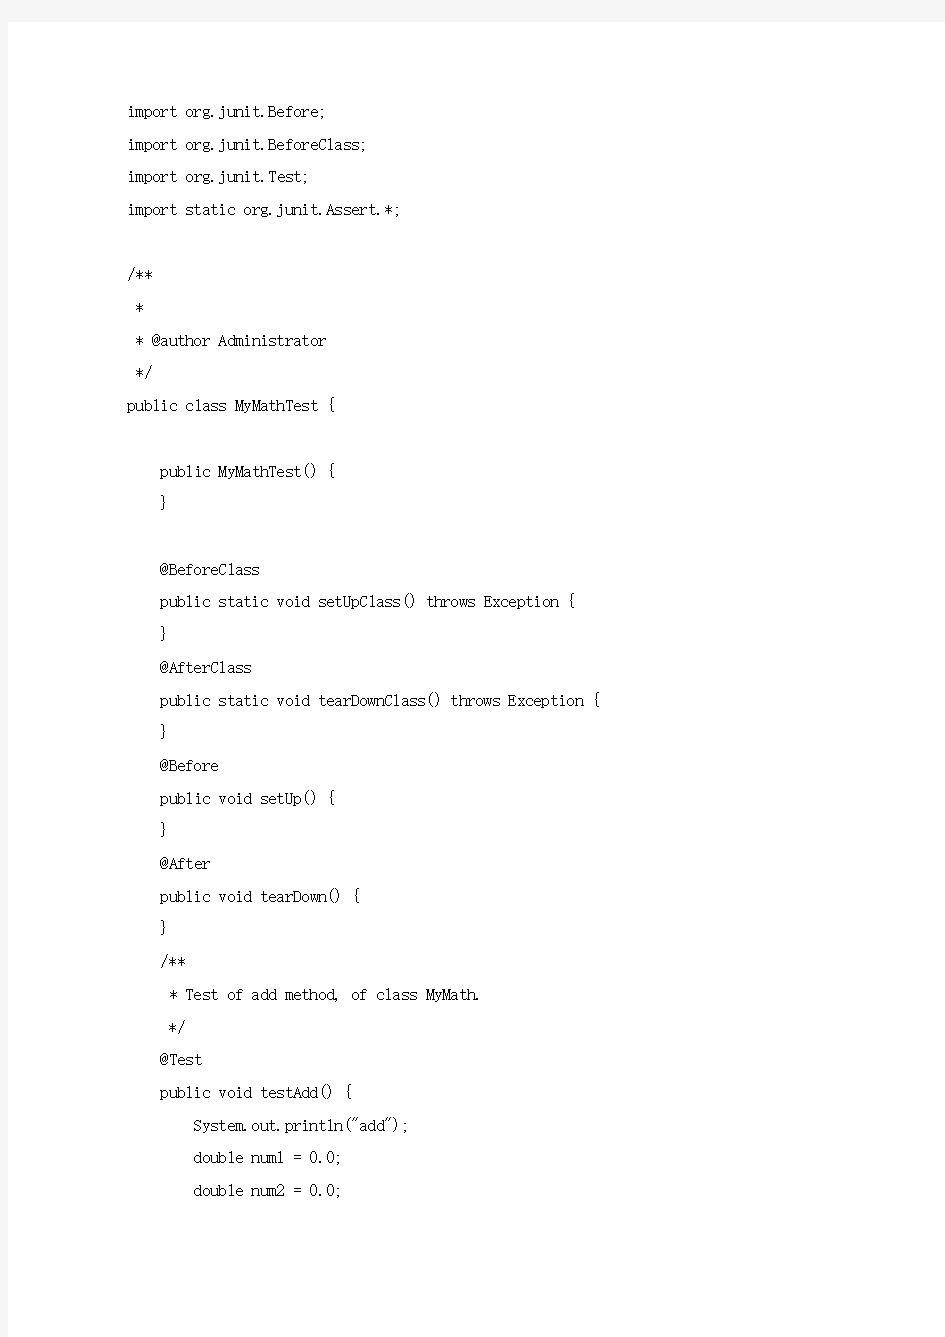
package calculator;
import org.junit.After;
import org.junit.AfterClass;
import org.junit.Before;
import org.junit.BeforeClass;
import org.junit.Test;
import static org.junit.Assert.*;
/**
*
* @author Administrator
*/
public class MyMathTest {
public MyMathTest() {
}
@BeforeClass
public static void setUpClass() throws Exception {
}
@AfterClass
public static void tearDownClass() throws Exception { }
@Before
public void setUp() {
}
@After
public void tearDown() {
}
/**
* Test of add method, of class MyMath.
*/
@Test
public void testAdd() {
System.out.println("add");
double num1 = 0.0;
double num2 = 0.0;
double expResult = 0.0;
double result = MyMath.add(num1, num2);
assertEquals(expResult, result, 0.0);
// TODO review the generated test code and remove the default call to fail. //fail("The test case is a prototype.");
}
/**
* Test of subtract method, of class MyMath.
*/
@Test
public void testSubtract() {
System.out.println("subtract");
double num1 = 0.0;
double num2 = 0.0;
double expResult = 0.0;
double result = MyMath.subtract(num1, num2);
assertEquals(expResult, result, 0.0);
// TODO review the generated test code and remove the default call to fail. //fail("The test case is a prototype.");
}
/**
* Test of multiply method, of class MyMath.
*/
@Test
public void testMultiply() {
System.out.println("multiply");
double num1 = 0.0;
double num2 = 0.0;
double expResult = 0.0;
double result = MyMath.multiply(num1, num2);
assertEquals(expResult, result, 0.0);
// TODO review the generated test code and remove the default call to fail. //fail("The test case is a prototype.");
}
/**
* Test of div method, of class MyMath.
*/
@Test
public void testDiv() {
System.out.println("div");
double num1 =2.0;
double num2 = 0.5;
double expResult = 4.0;
double result = MyMath.div(num1, num2);
assertEquals(expResult, result, 0.0);
// TODO review the generated test code and remove the default call to fail. // fail("The test case is a prototype.");
}
}
四、实验总结
通过本次实验使我初步了解到了JUnit 4.x的测试框架。开始的不了解,到后来与同学们相互的交流与学习,使我开始渐渐的了解了。通过多次尝试后终于完成了实验要求,这让我很高兴,同时也让我体会到了学习的乐趣。在本次的软件测试实验课上,通过动手操作让我更加的了解软件测试这门课程,使我更加的喜爱这门课程。多次尝试,不放弃使我在本次试验中最大的体会与收获。